hanging your acrylic wall board
hanging your fridge bord
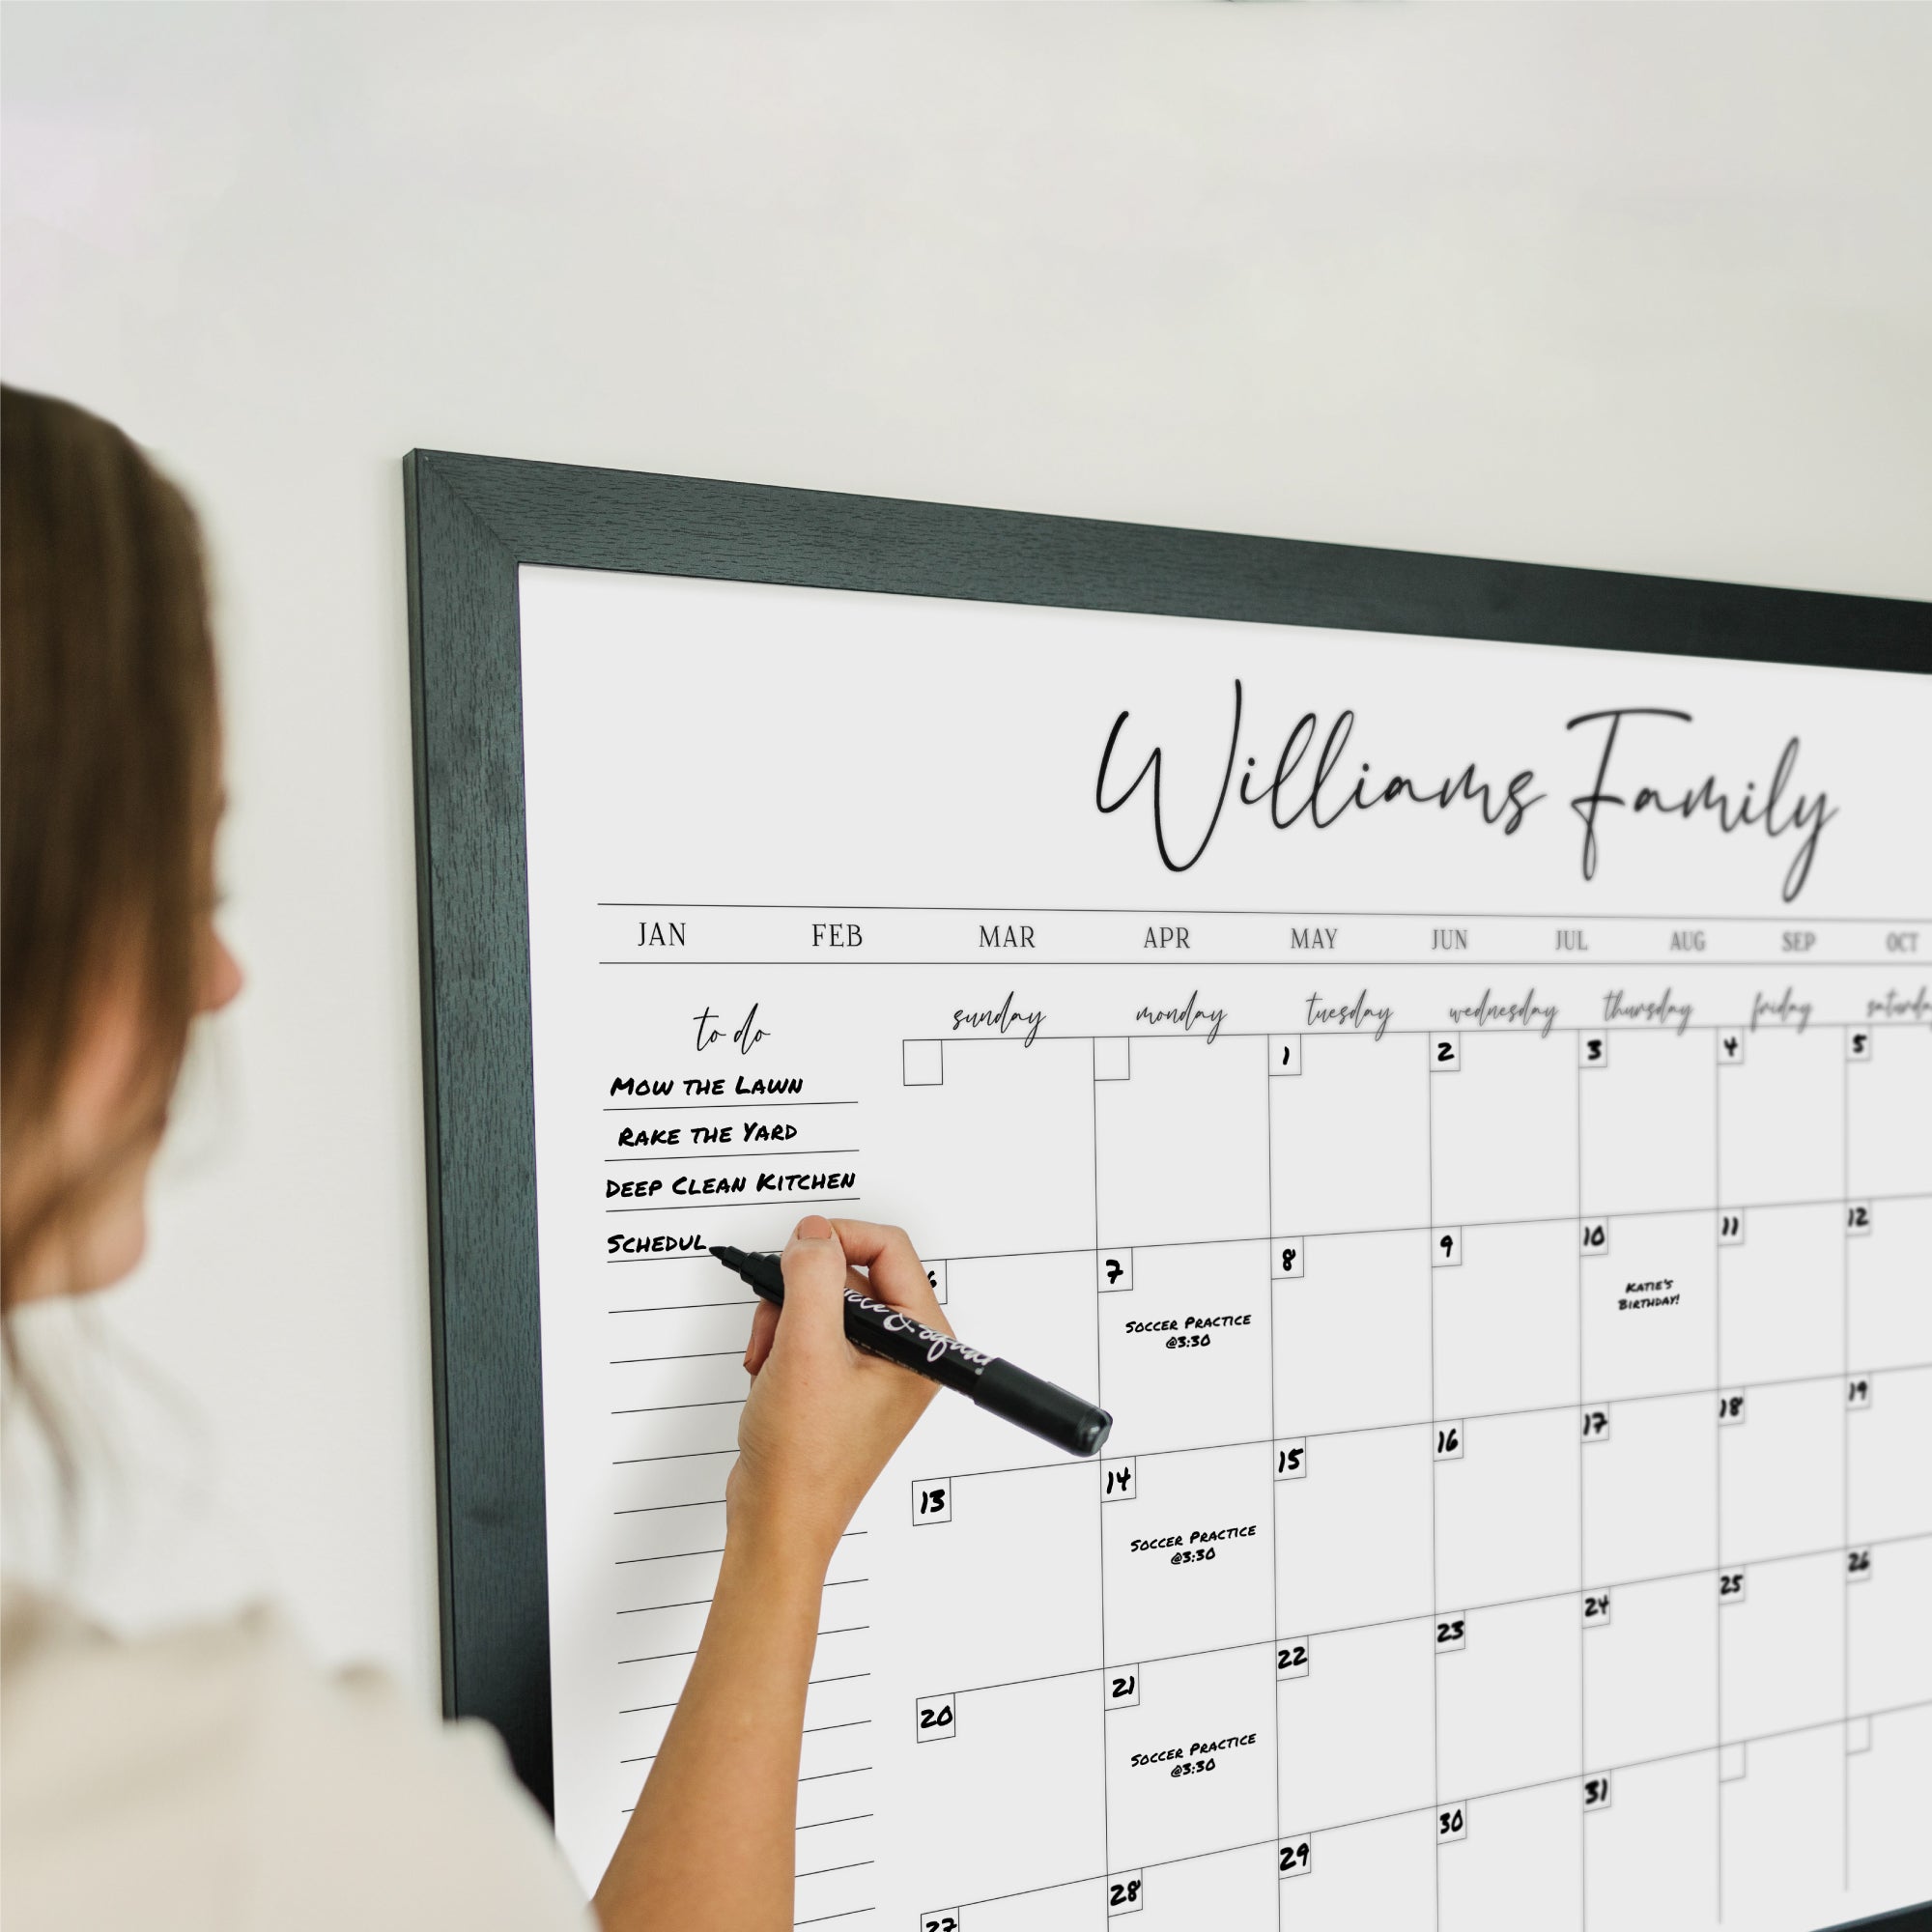
using our markers
cleaning your board

framed board wet and dry-erase switch instruction
1. lay your board facedown on a clean table or countertop
2. bend back the black tabs with a flathead screwdriver
3. remove brown backing, set aside
4. (if applicable) carefully remove magnetic backing and set aside
5. holding the design on two opposite sides, carefully remove it and place face-up in a clean area
6. flip clear front over (glossy side is for dry-erase, non-glare side is for wet-erase)
7. place the design back in (keeping it and the clear front clean/dust-free)
8. place backing(s) back in and close tabs.
*please note not all markers are created equal because of varying formulas. circle & square markers are guaranteed to erase completely, others are not.
our markers
• wet-erase and are compatible with all of my boards types.
• have reversible tips - simply remove the tip from the marker to switch between a rounded tip or a chiseled, fine tip.
• need to be stored horizontally.
• First Time Use: Place marker tip up vertically and press tip slightly to release pressure. Hold upright and shake well (with cap on!) for 10-20 seconds. Remove cap and pump tip downward slowly until tip fills with ink (repeat if needed).
thank you for letting us create for you!
95% of customers read reviews before a purchase.
we'd love to know how we did and read your review!


